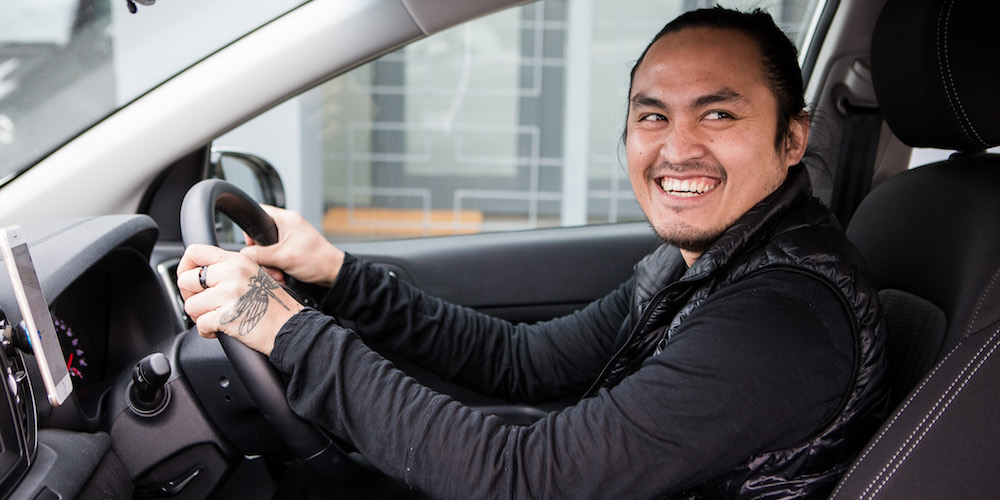
Ridesharing has become one of the most popular gigs in Australia in the past years, due to the flexibility and potential earnings it has to offer. As the ridesharing pioneer, Uber remains the most popular on-demand driving app, both among drivers and passengers. Many drivers choose Uber due to having an easy sign up process, constant ride demand, rewards and incentives for hard working Uber drivers.
When driving for Uber, you’re number one partner will be the Uber driver app installed on your smartphone. Not only is it going to be your bread and butter as a rideshare driver, but it’s also where you need to sign-up to drive initially. You’ll also use this app to manage your ride demands, contact your passengers, check your driver rating and cash out your earnings.
We’ve made a quick guide on how to use the Uber Driver to walk your through the most important stages of setting up your account and answer all your possible questions.
Contents
How to download the Uber Driver app?
Look for the Uber Driver app in the App Store or Google Play and hit Install. Register with your email address or sign in if you already have an account.
If you have a friend who’s already an Uber driver, ask them to give you their invite code. Use this code when registering your account and you may get a generous cash bonus. Bear in mind that the conditions and amounts vary by market and the supply-demand balance, or the offer may not be available at all in your area.
How to use navigation in the Uber Driver app?
During login, the app will ask you to choose your default navigation provider. The pick-up and destination addresses will load into this app automatically each time you accept a ride. You can change this later.
You can either choose Uber’s in-app navigation, Apple/Google Maps, or any other navigation app you have on your phone. We always recommend Waze because it offers real-time traffic data, so you can make informed decisions when planning a route.
How to set up your Uber account?
On the Account tab in the Uber Driver app, you can update your profile photo and your personal info. This is also where you’ll find the Help button to report any issues you might have had with a trip or the app itself.
You can also use the settings to change your navigation provider, update your payment details, or just see any compliments you’ve received from your passengers. It’s also constantly updated with your average driver rating for each week.
How to take your first trip with Uber?
Ready to start earning? Check out this step-by-step guide before your first Uber trip:
- Open the Uber Driver app and tap the blue Go button to go online and find a ride.
- When a request pops up on your screen, you have 15 seconds to accept it. You’ll see the passenger’s current location on the map, their rating, and the estimated distance and time to get there. This appears in an infobox in the bottom third of the screen.
- Tap the info box to accept, or the X button at the top to decline the ride. Once you accept, you’ll see the passenger’s name and the full destination address.
- Press Start navigation in the bottom left corner of the screen to pop the pickup location over to your navigation app. A red circle will appear on your screen, which is a shortcut to switch back to the Uber Driver app. Press it once you’re nearby, pick up your passenger, and then pull the green Start trip slider to the right before driving off.
- Use the Start navigation option the same way when driving to the destination. Pull the red Complete UberX slider to the right to finish the trip, rate your rider, and find a new request.
- To finish your shift or take a break, pull up the white bar at the bottom and tap Go offline.
Tip: When the rider gets into the car, always check their name, especially if you’re in a crowded area.
How to monitor your Uber earnings?
Go to the Earnings tab in the Uber Driver app to see your total earnings, a weekly breakdown, as well as a full report for each day.
The Earnings tab is also where you find the hours you’ve worked and each individual trip you’ve done in the past couple of days.
What is Uber surge pricing?
Uber fare prices are higher than normal during peak hours and in high-demand neighbourhoods. It’s called surge pricing and it kicks in when there are more riders than drivers in a certain area. Uber’s goal is to attract more drivers to these places and restore the supply-demand balance so passengers don’t have to wait too long for a car.
In the Uber Driver app, this will appear on the home screen, and if you zoom in, it will show how much the surge is on a particular street. Say, the surge is 1.5, you’ll get 1.5 times the normal rate for a ride from that area.
How to find trips towards a destination?
Tap the Search button in the top left corner of the main screen. Here you can filter trips towards a certain destination. This means you’ll only get trips going in that general direction.
This is useful when you’re starting your shift and want to get to your favourite spot, and also when you’re done for the day and want to earn some money on the way home.
About Splend
We enable people to make money by driving for on-demand apps such as Uber.
We’re more than a car subscription provider. In addition to new-model cars and all the essentials to start earning money with Uber as quickly as possible, our customers enjoy driver training and dedicated support, as well as customer benefits such as partner discounts and exclusive events.
For more information about Splend, make an appointment and drop by to your local Splend Hub, email us, or say hello on 1800 775 363.